Mfr Part # SC0130(J)
SBC 1.4GHZ 4 CORE 512MB RAM
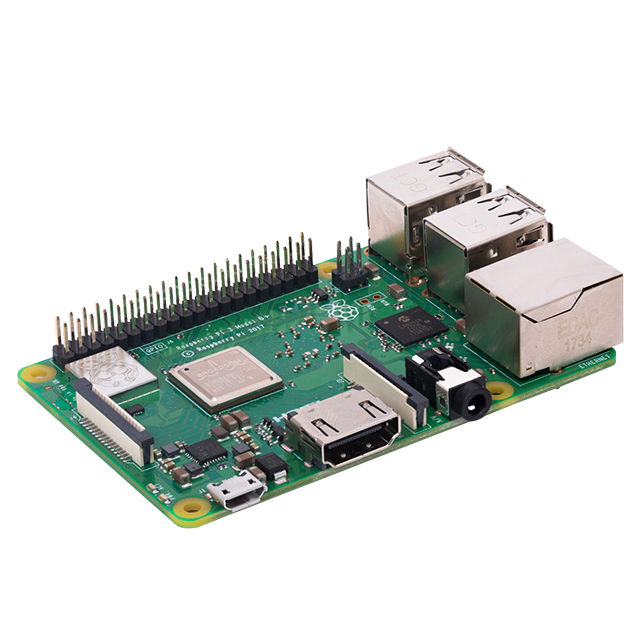
Raspberry Pi
License: See Original Project
Capturing an image series or sequence at set time intervals to create a video can be an incredibly fascinating and fun photography approach. You can easily take part in time-lapse photography with only a Raspberry Pi and a web camera (webcam) or Pi camera module. By building a Raspberry Pi time-lapse camera, you can capture wonderful videos of slow processes such as blooming flowers and moving clouds, or even maker projects like an Arduino-Solid State Relay DC motor controller. In this maker project, you’ll explore how to set up and use a Raspberry Pi, a webcam, and time-lapse software to create a time-lapse camera.
Pioneers of Time-Lapse Photography
English photographer Eadweard Muybridge pioneered the first approach to time-lapse photography from 1870 to 1872. Muybridge created a sequence of photographs capturing the slow construction process of the San Francisco Mint. Using photograph sequences, he also captured the movement of the galloping horse, answering the question of how many horse legs contact the ground while trotting and galloping — the sequence showed that a horse is indeed airborne while in motion.
Eadweard Muybridge’s sequence of photographs studying horse movement. Image courtesy of Wikipedia Commons
The term ‘sequence of photography’ was eventually translated to time-lapse photography in 1897 by Georges Melies, a French filmmaker and cinematographer. Melies used time-lapse photography to create his Carrefour De L’Opera. Within Melies’ motion picture productions, time-lapse photography provided a way to distort and manipulate time to accelerate the natural progression of musical performances.
Georges Melies and a scene from his 1908 film “The Old Footlight Favorite.” Image courtesy of Wikipedia Commons
Raspberry Pi Time Lapse Camera Materials
Like Muybridge and Melies, you too can build a time-lapse camera to explore nature and the construction of your projects. The Raspberry Pi time-lapse concept consists of using a few off-the-shelf components:
Connected, these off-the-shelf components will allow an experimental lab or workshop bench time-lapse camera to create fun and entertaining videos. The time-lapse camera software (Streamer) permits the frames-per-second (fps) or the total image numbers and the interval to be established for the photography setup.
A Use Case Model of the Raspberry Pi as Time Lapse Camera
You can adjust the image resolution using the streamer software, which includes a filename for each jpeg taken. The system’s setup is quite easy due to the low part count. Therefore, hardware troubleshooting for the Raspberry Pi Time Lapse camera is minimal.
The Raspberry Pi Time-Lapse camera system.
You’ll insert the webcam’s USB cable into the Raspberry Pi 3 or 4B SBC USB port, and that’s all there is to making the complete Raspberry Pi time-lapse camera! You can use an ordinary webcam in this project and may find the components setup diagram:
A typical assembled Raspberry Pi Time-Lapse Camera
Installing the Streamer Software
Two common software packages allow the Raspberry Pi to take still or time-lapse images: Raspistill and Streamer. The Raspistill and Streamer are installed on the Raspberry Pi using the Linux terminal. This project focuses on installing the Streamer software onto the Raspberry Pi and assumes you already have an operating system installed and running on your Pi. You can find a guide here if you need information on how to do this.
The first step in creating a Raspberry Pi time-lapse camera is obtaining the Streamer software using the Linux terminal and the command.
sudo apt-get install streamer
Type the command into the Linux terminal and press the enter key.
Installing the Streamer software onto the Raspberry Pi
Streamer software installed on the Raspberry Pi
You can now install the various video decoder and encoder utility packages supporting the Streamer software. Type or copy each command followed by the enter key into the Linux terminal using the following instructions.
sudo sh -c 'echo deb http://vontaene.de/raspbian-updates/ . main>> /etc/apt/sources.list'
Obtaining Raspbian Updates
sudo apt-get update
Getting all updates
sudo apt-get install libgstreamer1.0-0 liborc-0.4-0 gir1.2-gst-plugins-base-1.0 gir1.2-gstreamer-1.0 gstreamer1.0-alsa gstreamer1.0-omx gstreamer1.0-plugins-bad gstreamer1.0-plugins-base gstreamer1.0-plugins-base-apps gstreamer1.0-plugins-good gstreamer1.0-plugins-ugly gstreamer1.0-pulseaudio gstreamer1.0-tools gstreamer1.0-x libgstreamer-plugins-bad1.0-0 libgstreamer-plugins-base1.0-0
Obtaining Streamer plugins
Next, you’ll type or copy this command instruction to verify the streamer’s plugin installations were correct.
gst-inspect-1.0 I grep omx
Final Inspection of Streamer plugin tools
The final streamer plugin inspection will display on your Linux terminal screen.
Successfully installed streamer plugins
Note: Once The installation is complete, you will see the following information displayed in your Linux terminal.
gst-inspection of streamer plugins installed successfully
Testing the Raspberry Pi Time Lapse Camera
After you have successfully installed the streamer software and plugins, the final step is testing. Find an interesting object that is in motion to test the sequencing feature of the Raspberry Pi time-lapse camera. An Arduino SSR DC motor controller with a flashing LED was used here as the testing device. The DC motor’s rotating fan and flashing LED provided an opportunity to test the Streamer software’s ability to sequence the movement of each operational component in motion.
The Arduino SSR DC motor controller and Blinking LED test device
You’ll use the following command instruction to start capturing the image frames of your moving test object.
streamer -t 14 -r 0.4 -s 1280x720 -o timelapse0000.jpeg
The command instruction setup parameters consist of the following: t is the number of frames, r is the frame rate in frames-per-second, s is the resolution, and the filename is the initial timelapse.jpeg photo beginning at 0000. In this setup, Streamer will take 14 images at a frame rate of 0.4 frames-per-second — with a value of 0.4, a picture will be snapped every 2.5 seconds. The pixel count of 1280x720 is the image resolution, and the higher the pixel count or resolution, the better the picture image quality. Upon successful execution of the command instructions, 14 images will be stored in the home/pi directory. You can then move these files to a Windows directory using a file-sharing software package like WinSCP. Each image will be sequenced in order during the device movement pattern.
The Arduino SSR DC Motor Controller with Flashing LED images sequenced
To see the time-lapse video of your sequenced images, you may use Time Lapse Creator software and can download the software here. Upload the complete sequenced image folder to the Time Lapse Creator software, and once complete, click the play button to view the time-lapse video. You can keep final video copies by clicking the SAVE button on the control panel. View the time-lapse Arduino SSR Motor Controller with Flashing LED here.
Congratulations on building your Raspberry Pi Time Lapse camera! Have a fun and entertaining time with your maker tool, using it to explore nature or animated projects in your lab or workshop bench. You, too, can become a time-lapse pioneer at school or in the local makerspace using your Raspberry Pi time-lapse camera.